As a Plesk Server Administrator, BoldGrid can be added for your customers via the Plesk Administration Interface. You will need to enable this feature within your Web Host dashboard. This guide will show you how to enable the BoldGrid extension within Plesk Onyx 17.
Depending on your Plesk Version and Applied Theme, your Plesk may slightly differ from what you see in the screenshots, however the steps will be the same to enable BoldGrid for your customers.
Adding the BoldGrid Extension in Plesk Onyx 17
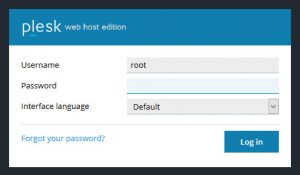
 Login to your Plesk Admin Panel as the Administrative User (root)
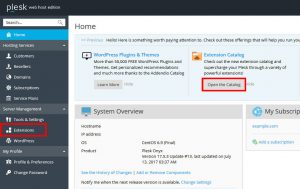
  Next, select the Extensions option from the left sidebar menu directly below Server Management. You can also use the button under Extension Catalog as well, labeled “Open Catalog”
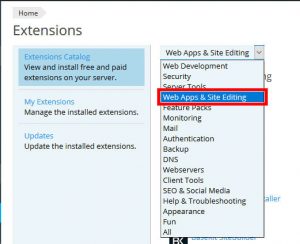
  Select the Category “Web Apps & Site Editing” in the drop down menu
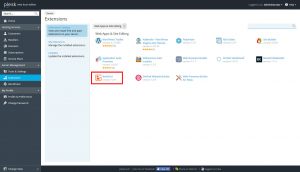
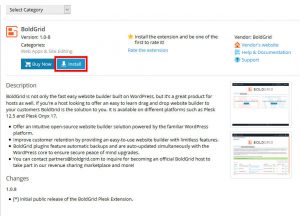
  Select BoldGrid
  Select Install Now
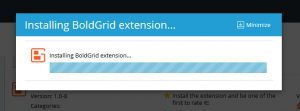
  Installation should complete for you pretty quickly. You will see this loading bar while it is finishing.
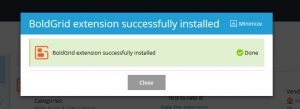
  Congratulations, The BoldGrid Extension for Plesk is now installed!
.
Now you and your customers can easily Install BoldGrid.
SIGNUP FOR
BOLDGRID CENTRAL
200+ Design Templates + 1 Kick-ass SuperTheme
6 WordPress Plugins + 2 Essential Services
Everything you need to build and manage WordPress websites in one Central place.
