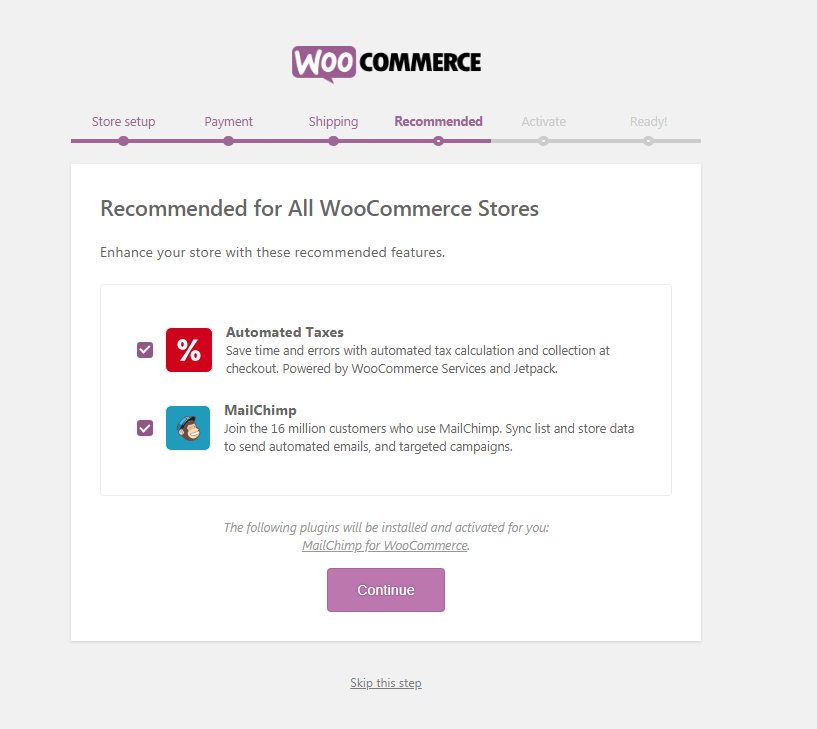
WooCommerce simplifies sales taxes for you by including an option called Automated Taxes when you install the WooCommerce plugin. This is the option that you will see during the installation process:

The Automated Taxes option in WooCommerce saves you a lot of time by automatically calculated required sales tax during the checkout process.
Manually Setting up Automated Taxes in WooCommerce
If you somehow skipped this option, then this is what you need to do in order to enable it after the installation has completed.
NOTE: In order to use Automated Taxes in WooCommerce you must have Jetpack installed. Make sure to install it before you follow the steps below.
- Go to Settings and click on General
- Scroll down the General page and find Enable Taxes
- Check the box and then scroll to the bottom of the page and click on Save Changes
- Once the option has been saved you will see a new tab labeled Taxes. Click on this tab
- The very first option under Tax Options is Automated Taxes. Since you’re trying to enable it at this point, the field will say Disabled. Click on the drop-down arrow and change it to Enabled.
- Once you changed it, scroll to the bottom and click on Save Changes
This completes the manual installation process for Automated Taxes in WooCommerce.
SIGNUP FOR
BOLDGRID CENTRAL
200+ Design Templates + 1 Kick-ass SuperTheme
6 WordPress Plugins + 2 Essential Services
Everything you need to build and manage WordPress websites in one Central place.