Adding a new page in WordPress is quick and easy with BoldGrid. After you’ve edited the existing website pages which were provided in BoldGrid’s Inspirations process, you may decide that you need additional content pages.
In this article, we’ll show how to add new pages to your BoldGrid site. There are two options for adding pages—either using the BoldGrid menu structure, or using the traditional WordPress menu structure—and the method is slightly different depending on which menu structure you are working with. In this article, we’ll cover both methods. By default, the BoldGrid menu structure is used.
Using the BoldGrid Menu Structure
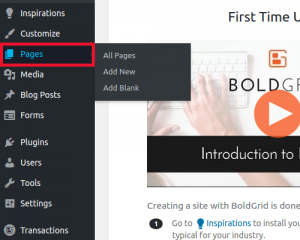
- Log into your website admin interface.
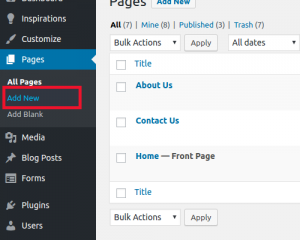
 Click on the Pages option from the left-hand menu.
  Next, click on the Add New option.
Using the Traditional Menu Structure
- Log into your website admin interface.
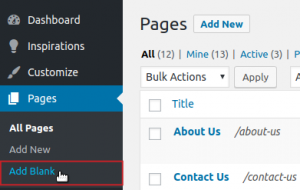
 Click on the Pages option from the left-hand menu.
  Next, left-hand Add Blank option.
How to Add a New Page in BoldGrid
The page selection method is the same, no matter which menu structure you’ve used from above.
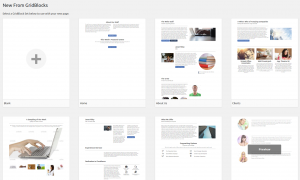
 You are presented with a wide selection of pre-made Blocks that can be added to your new blank page. These are designed with specific page types in mind. (Note: you can further customize a page after you add Blocks). Hover over any that interest you and click on the Preview button to view a full-sized preview page. Once you decide on a page, click the Select button to add it to your site.
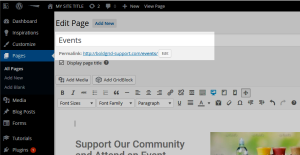
  The new page will be added and you are taken to the Edit Page screen. From here, you can customize the page title and permalink.
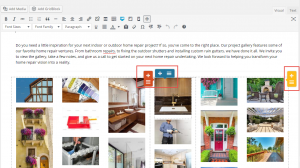
  Edit the page content using the drag handles and their options.
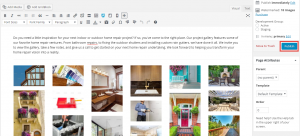
  Click Publish to complete your page and send it to the proper site.
SIGNUP FOR
BOLDGRID CENTRAL
200+ Design Templates + 1 Kick-ass SuperTheme
6 WordPress Plugins + 2 Essential Services
Everything you need to build and manage WordPress websites in one Central place.
