The Post and Page Builder allows you to create dynamic content by using hover boxes. With hover boxes, a unique set of content shows when a user moves their mouse over the area. In this article you will learn how to create hover boxes in WordPress.
How to Create Hover Boxes in WordPress
Hover boxes have 3 elements to setup:
– Standard Background (shows by default)
– Hover Background (shows on hover)
– Content (set each element to show or hide on hover)
The first step in creating a hover box is to set the backgrounds. In our example we are using a column, but you can add a hover effect to a background on a section, row, column, or column shape. Please note there are different instructions for users with BoldGrid Crio and those using other themes.
Create a Hover Box in BoldGrid Crio
To see the updated control, you need to use Post and Page Builder version 1.25 or later.
Step 1 – Set the Standard Background
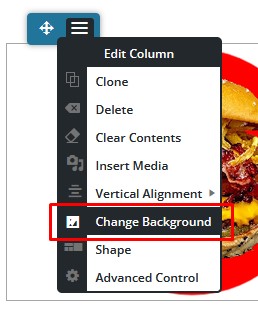
- Click in the area where you want to create a hover box and choose Change Background

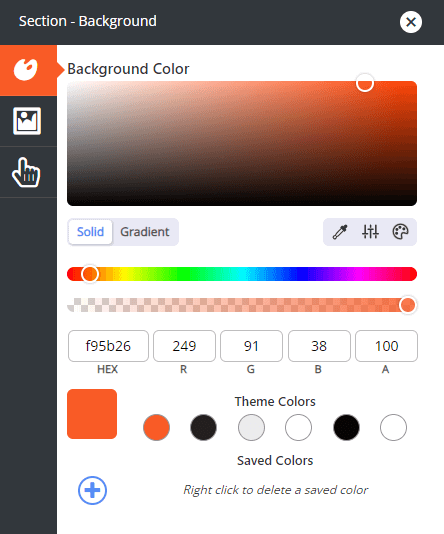
- Use the Background Panel to add a color, gradient, or image as desired.

Step 2 – Set the Hover Background
- Open the Background Panel in the area where you want to use a hover box.
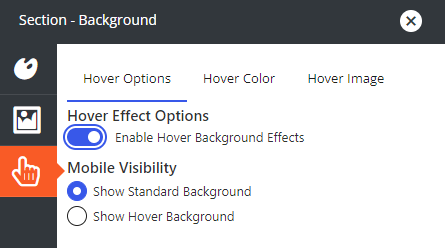
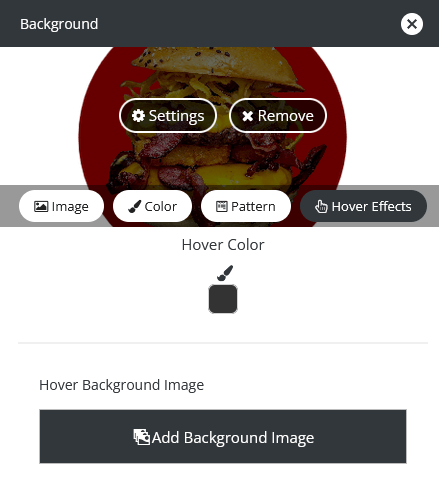
- Click the third option in the panel – Hover Effects and toggle Enable Hover Background Effects.

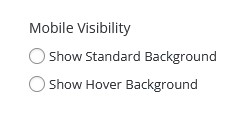
- Use the Mobile Visibility control to set which background shows on a device that can’t hover, like a phone and tablet.
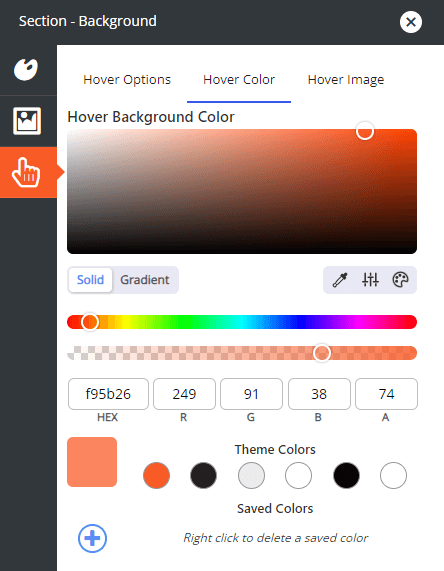
- If you want to use a different color on hover, click Hover Color at the top.

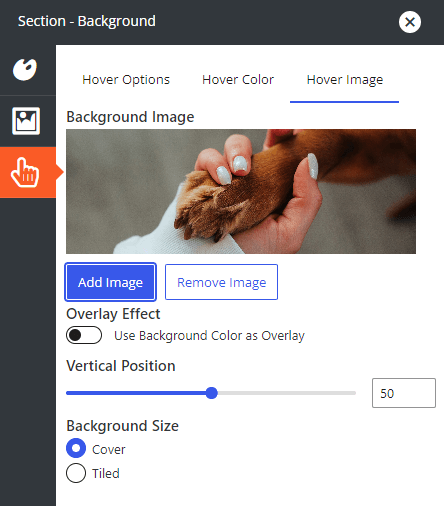
- If you want to use an image on hover, click Hover Image at the top. Click the Add Image button to choose your image, add an Overlay Effect if desired, and adjust the Vertical Position and Background Size. The Overlay Effect will use the color selected in the Hover Color panel.

Step 3 – Add Content to the Hover Box
This step is the same for all themes. You can add almost any type of content to a hover box. Due to the dynamic nature of sliders and hover boxes we do not recommend mixing them. It’s important to remember users may miss content only shown on hover if they do not interact with the area. For this reason, try not to put any critical information in a hover box.
- Click in the hover box are and add your desired content
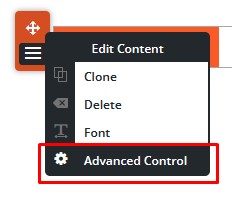
- Click on your content and use the orange popover to click Advanced Control

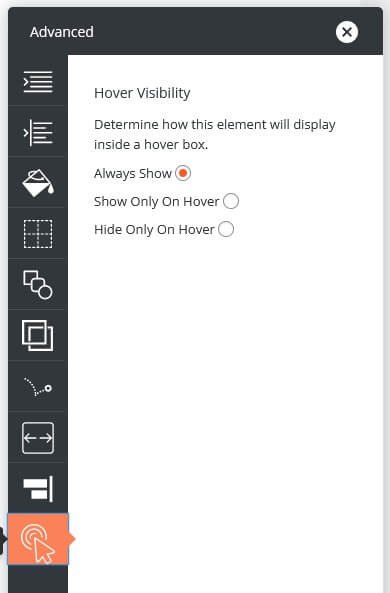
- Near the bottom click the option for Hover Visibility

- Choose which background this element will show with
- Always Show = both Standard and Hover Backgrounds
- Show Only on Hover = Hover Background
- Hide Only on Hover = Standard Background
- Repeat for each element in the hover box
Create a Hover Box in Other Themes
Hover boxes work best with our WordPress theme Crio. If you are using another theme and the hover effects do not work as expected after following these instructions, please leave a comment below.
Step 1 – Set the Standard Background
- Click in the area where you want to create a hover box and choose Change Background

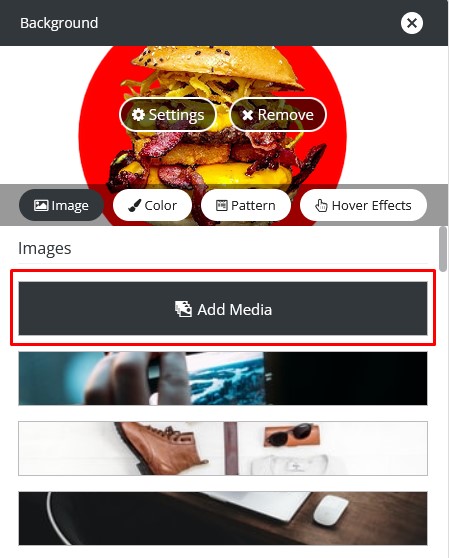
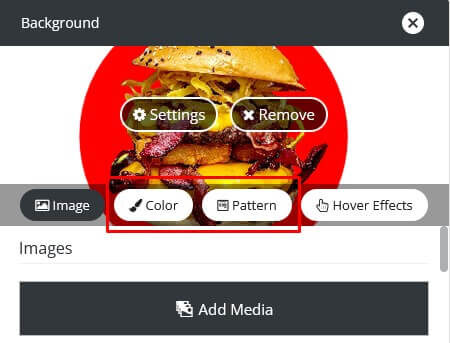
- Click Add Media to upload an image or choose from the Media Library

- You can also click Color or Pattern if you do not want to use an image for the Standard Background

Step 2 – Set the Hover Background
Setting a background to use on hover is what activates the area as a hover box in the Post and Page Builder.
- From the Background panel, click Hover Effects
- Chose a Hover Color or Hover Background Image

- Use the Mobile Visibility control to set which background shows on a device that can’t hover, like a phone

Step 3 – Add Content to the Hover Box
Adding hover box content to other themes follows the same steps as adding content to a hover box in Crio.
SIGNUP FOR
BOLDGRID CENTRAL
200+ Design Templates + 1 Kick-ass SuperTheme
6 WordPress Plugins + 2 Essential Services
Everything you need to build and manage WordPress websites in one Central place.

