
While it’s perfectly acceptable to use a single background color for your entire WordPress website, we recommend exploring designs with multiple backgrounds to help organize and break up content.
Varied backgrounds and content give your viewers something interesting to look at on the page, which increases the time they will spend on your site. On average, you only have 15 seconds to convince a new visitor to stay on your site and consume your content. Having a dynamic background design helps make the best first impression and hook those valuable visitors.
How to Change Backgrounds in the Post and Page Builder
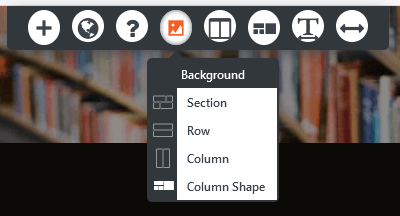
The Post and Page Builder plugin provides an easy way to swap out backgrounds. Using the DropTab, you can change the background for the Section, Row, Column, or Column Shape you are currently in. The available options will vary depending on if you are using our BoldGrid theme Crio, or another theme.
Background Options for BoldGrid Crio
To see the updated control, you need to use Post and Page Builder version 1.25 or later.
Use a Solid Background Color
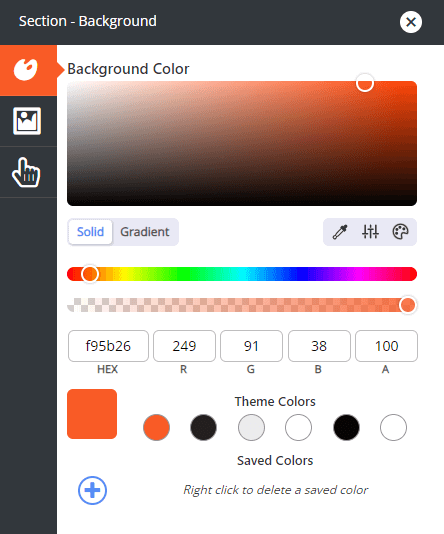
The active color palette set in the Crio Customizer show in the Theme Colors section. You can use the top slider and color picker to select any color you want, or input the desired HEX or RGB values. The bottom slider is an alpha slider to adjust opacity. If you start with a theme color and change the opacity, it will update if you change that color in the Customizer.
Above the sliders are several helpful tools – a Eye Dropper color picker, Advanced Controls to adjust Saturation, Lightness, and Brightness, and a Color Guide that shows complimentary colors.
If you want to save a color for future use, click the + icon below the active color box. This color will then be available whenever you open a color control. To delete a saved color, right click on the color in the Saved Colors row.
Use a Gradient Background
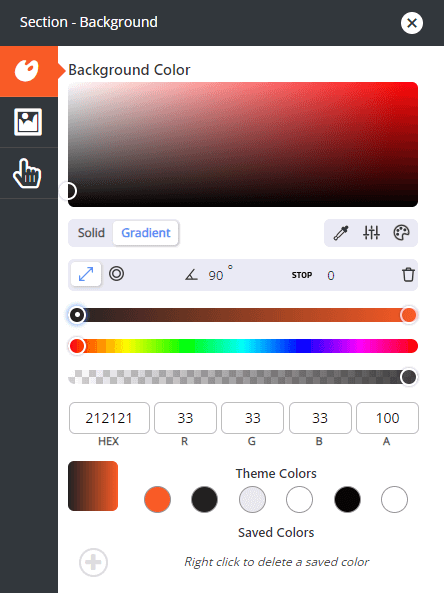
If you want a more dynamic color background, you can use a gradient. Linear and Radial options are available and you can have as many stops as you need. Adjust the angle by typing in the new number you want to use. The trash icon will delete stops.
The top slider controls the gradient itself. Click on each stop to change the color. Click anywhere on the slider to add a new stop. Once a stop is selected, you can type in the exact stop location if needed. The middle slider controls the color and the bottom slider controls the opacity.
Please note that Gradients cannot be saved to Saved Colors.
Use a Background Image
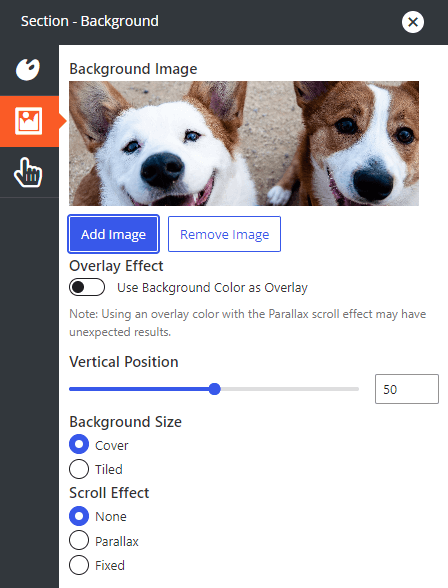
The second option in the Background Panel is for an image. Click the Add Image button to open the Media Library to choose an existing image in your WordPress install or upload a new one. If you want to add a color or gradient overlay, toggle the Overlay Effect and navigate back to the Background Color panel to choose the desired color. Be sure to adjust the opacity slider so the image shows.
You can also change the Vertical Position of the image on the page, Background Size (Cover Area or Tiled), and choose a Scroll Effect (Parallax or Fixed) if desired. Please note that Overlay Effects do not work in Parallax images at this time.
Use a Hover Box
If you want the background to change when the user moves their mouse over an area, you an use a Hover Box.
Background Options for Other Themes
Use a Background Color
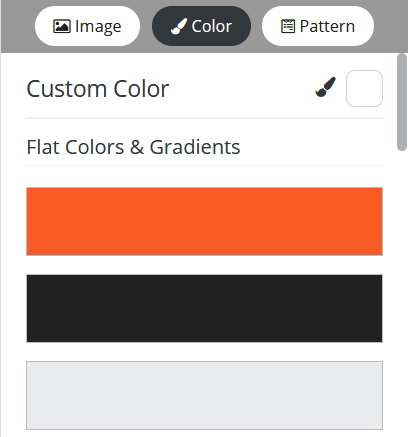
The colors shown here include the active color palette and several gradients. To use a different color, click the box next to the paint brush icon in the Custom Color row to open a color picker with opacity slider.
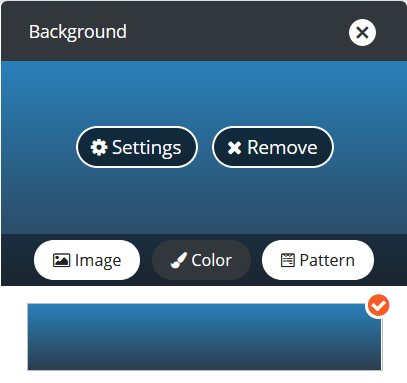
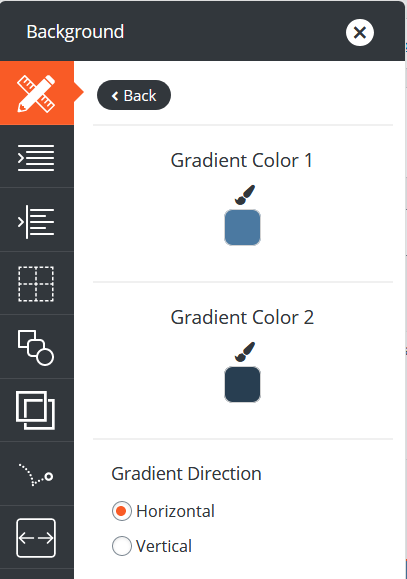
Default gradients can be customized by clicking the Settings button at the top of the panel.
From here you can select two colors to use in the gradient, and if the colors should blend horizontally (side to side) or vertically (up and down).
Use a Background Image
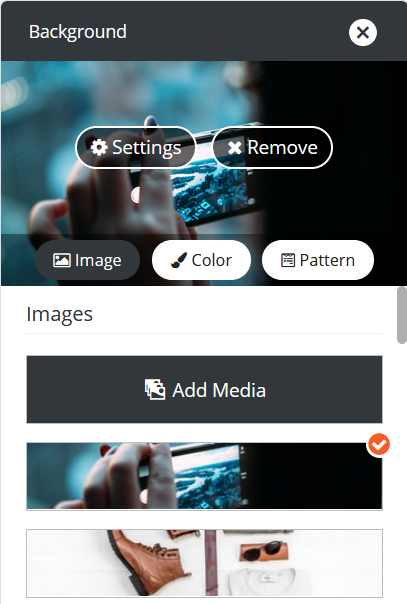
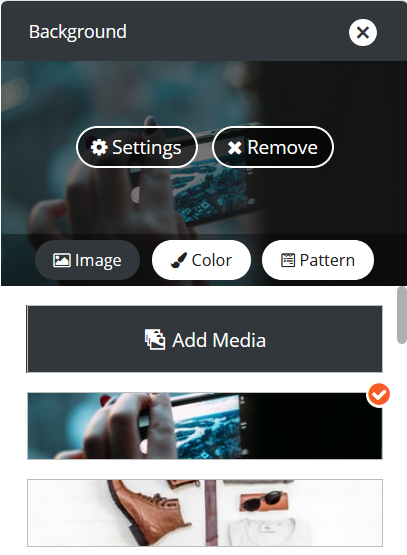
The Post and Page Builder includes some stock photos suitable for any website, or click the Add Media button to open the Media Library and select your own. To further customize any image background, click the Settings button at the top of the panel.
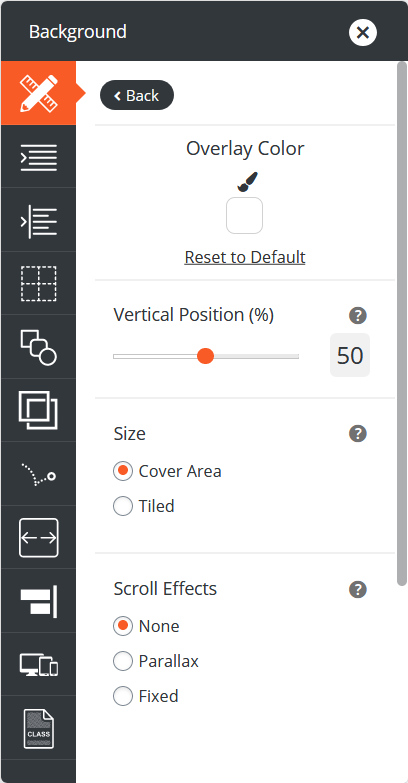
From here you can change the Vertical Position of the image on the page, Image Size (Cover Area or Tiled), and choose a Scroll Effect (Parallax or Fixed) if desired.
Setting the vertical position to 0 will show the top of the image at the top of its container, and setting it to 100 will show the bottom of the image at the bottom of its container. In both cases the height of the image will be determined by the size of the container it is in. By default, the Vertical Height is set to 50 and the image centers in the height of the container.
You can also set an overlay color to help with text contrast on your site. Click the box under the paint brush to open the color picker with an opacity slider to choose your desired color. After clicking the Back button at the top of the panel, the color overlay will show in the image previews at the top of the panel.
Use a Background Pattern
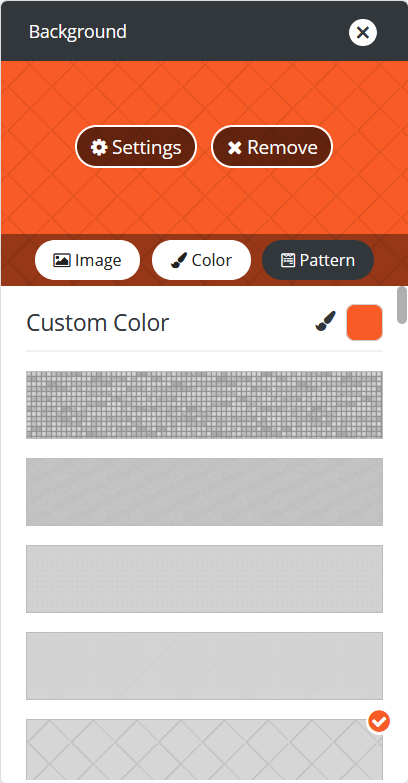
The Post and Page Builder includes over 200 patterns to choose from, and any color can be applied to them. Use the box next to the paint brush icon in the Custom Color row to select any color and opacity.
Congratulations!
You should have a better understanding of how to change backgrounds in the Post and Page Builder. Next, you may want to learn how to add and save BoldGrid Blocks.
SIGNUP FOR
BOLDGRID CENTRAL
200+ Design Templates + 1 Kick-ass SuperTheme
6 WordPress Plugins + 2 Essential Services
Everything you need to build and manage WordPress websites in one Central place.
Nigel says:
Hi,
I am trying to change the background of my home page but the image does not fill the screen – there are black gaps on the edges. I have tried different image sizes – 1920*1240, 2000*1200, but they all do the same.
Any ideas?
Brandon says:
Hi Nigel,
If you could post your question in the Support Forum thread with a link to your website we can definitely review it for you.
Jessica says:
I am trying to change the background in the Services section. I have selected an image the same way I did for the home page (change background), but it is not working. I can’t seem to get rid of the color overlay and there is no opacity slider. If I select the orange Add Block button, it shows it correctly with the selected image, but once I am done with adding a block, it goes back to the color overlay- which is how it appears on the live website.
Jesse says:
Hi Jessica-
Would you be able to post a new Support Forum thread with a link to your website so we can take a look for you?