After installing the WordPress Post and Page Builder plugin, you will be prompted to complete the setup. In this guide, we will walk you through the Post and Page Builder setup steps. While you can skip this setup and use the default settings, we recommend choosing your preferences.
Post and Page Builder Setup
- Create or Edit a Page or Post after installing the Post and Page Builder plugin.
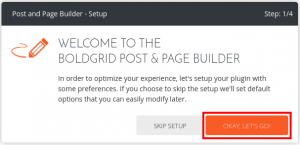
 A notification will “Welcome you to the BoldGrid Post & Page Builder” click the Okay, Lets Go! button.
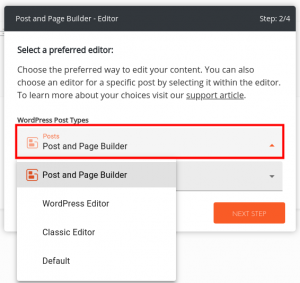
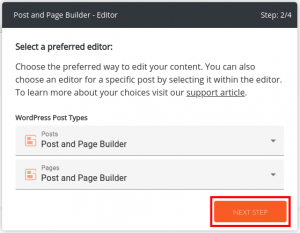
  You will then be prompted to select your preferred editor for Posts and Pages. Click the drop-down box and choose from Post and Page Builder, WordPress Editor, Classic Editor, and Default.
  Click the Next Step button.
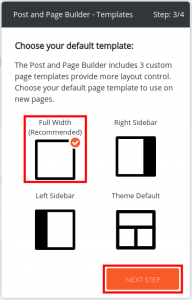
  You will then be prompted to choose your default template. Options are Full Width (Recommended)< Right Sidebar, Left Sidebar, and Theme Default. Click the Next Step button once you have made your selection.
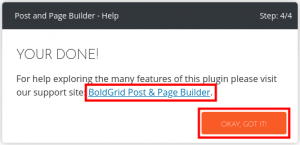
 A message stating “You’re Done!” will display. Click the BoldGrid Post & Page Builder link to access our full guides, or click the Okay, Got It! button to begin using the editor.
How to Enable the Post and Page Builder for Custom Post Types
One of the great things about WordPress is the huge variety of high-quality plugins out there to extend WordPress. One of the ways that many plugins accomplish this is with Custom Post Types.
For example, WooCommerce uses a Custom Post Type called `product` to represent items for sale. However, when you edit a WooCommerce Product, you’re limited to using the Classic Editor for the product’s description. Here’s how you can enable the Post and Page Builder to work with WooCommerce Products, or any Custom Post Type that uses a visual editor field for its main content.
Override the Post and Page Builder Configuration
To make these changes, you will need to modify some files in your WordPress installation. Be sure you make a backup before proceeding, just to be safe.
- Locate the file
/wp-content/plugins/post-and-page-builder/includes/config/config.sample.phpand copy it toconfig.local.phpin the same directory. - Delete the line
'asset_server' => 'https://wp-assets-dev.boldgrid.com', - In its place, add the line
'allowed_post_types' => array( 'page', 'post', 'bg_block', 'crio_page_header', 'product' ),. This example uses ‘product’, the slug for WooCommerce Products, but you can use the slug for your custom post type. - Save the changes
When you edit your Custom Post Type, you’ll now see the Post and Page Builder for the editor interface.
Congratulations, now you know how to set up the BoldGrid Post & Page Builder! Now, you can begin using the tools to build a beautiful website.
SIGNUP FOR
BOLDGRID CENTRAL
200+ Design Templates + 1 Kick-ass SuperTheme
6 WordPress Plugins + 2 Essential Services
Everything you need to build and manage WordPress websites in one Central place.
Rodger says:
What are the pros & cons of each of the post editors? There’s no indication here, they are all just words to me…
Post and Page Builder, WordPress Editor, Classic Editor, and Default
Jesse says:
Hello Rodger,
Deciding which editor to use is largely going to be a matter of personal preference. The best analogies to think of is that the Classic Editor is most similar to a classical Word Processor, the WordPress “Gutenberg” editor is a creative writing tool, and the BoldGrid Post and Page Builder is more like a graphic design tool.
Of course, all of the editors can be used for word processing, writing, and design, but each have their strengths. For example, many BoldGrid users prefer to use the Post and Page Builder for their main marketing pages, while using the WordPress editor for their blog writing. I hope this helps!