The continual changes within the WordPress interface occasionally lead to a major change that affects not only what you see but also how you use the WordPress application. One of the core modules of WordPress is the editor. It is a flavor of the venerable TinyMCE editor that includes all of the base functions for creating or editing your posts and pages in WordPress. The Gutenberg editor is now fully integrated into WordPress as of WordPress version 5.0. At this point, Gutenberg is the default WordPress editor for page and post content. The goal is to bring more of the modern word processing functionality and ease-of-use to the online experience of WordPress. This article will provide an introduction to the Gutenberg editor interface, give a quick description of its functions and show you how to quickly add content.
The Gutenberg Editor Interface
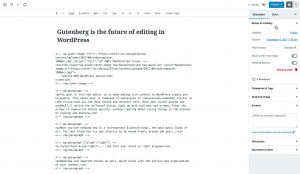
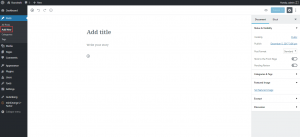
One of the design goals of the Gutenberg interface is to keep it as uncluttered as possible. This helps to provide that “distraction-free” writing environment. Please review the screenshots below to familiarize yourself with the different aspects of the new editor.
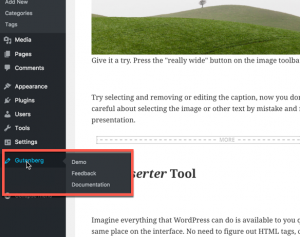
Gutenberg in the WordPress menu
Here you can see the Gutenberg in the WordPress menu. The options include:
- Demo – provide a demonstration of the interface
- Feedback – feedback form for any issues or comments that you wish to send
- Documentation – Documentation provided by WordPress on the Gutenberg
Working with the Gutenberg Interface
The Gutenberg editor is made for creating posts and pages. When you create a new post you will see the interface starting with the title. There will also be a menu bar on the right and an interface at the top.
Starting from the top left you will see the option to add a new block. To the right of the plus sign (+), you will see the arrows for undo and redo actions. By default, the redo and the content structure button (the ‘i’ in the circle) is used for when you add content or when you need to work with existing content on the page.
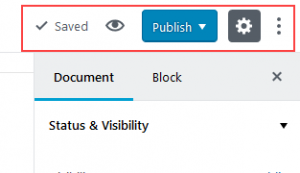
In the far right corner is the indicator showing if the post/page has been saved. The eyeball graphic is the button you click on to preview a post or page. There is also a publish button, the gear icon for settings and 3 vertical dots for “more”.
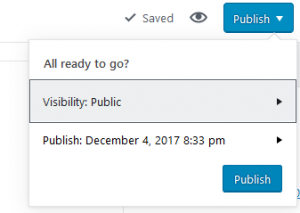
The Publish option lets you determine the visibility options for the post/page as well as the option to schedule it for a later date if you don’t want to publish it immediately.
The gear icon lets you show the settings in the far right column. You can show or hide the right column displaying the settings by simply clicking on the gear icon.
The vertical dots allows you to view the editor in Visual or Code editor views. It also controls the Toolbar behavior in the block. The toolbar option shows the pop-up menu in the block if it’s fixed to the block. If it’s not, then options appear in the top bar of page/post that you’re editing. You can see the difference in the editor’s appearance per the screenshot below:
The Different Blocks Used in the Gutenberg Editor
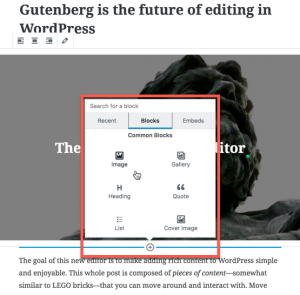
Gutenberg’s visual interface works on a system of blocks. You can move the block up or down through your existing content. You can also edit the contents of the block. When you add a block you can select blocks based on the most recently selected, the entire block list, and content embeds from different popular social media websites.
The blocks you can select include three major types:
- Common Blocks
- Formatting Blocks
- Layout Blocks
You can also add Widgets or select different types of embed options. A few examples of the embed choices include:
- YouTube
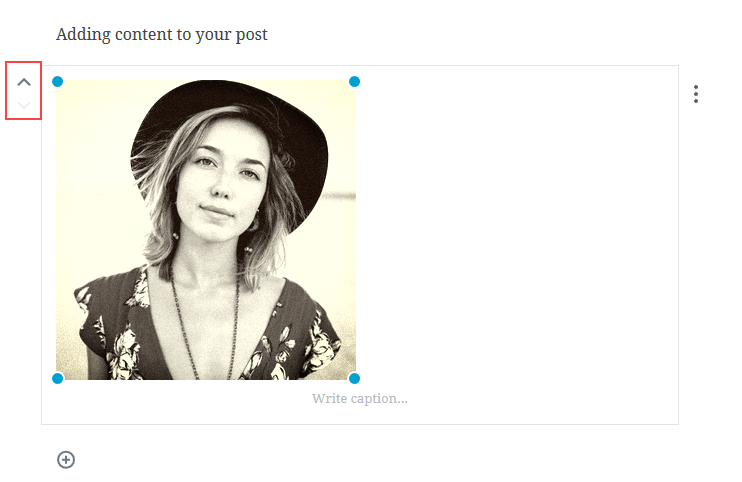
After you have added your blocks and typed in text or added visual content, you can easily move them up and down using the arrows on the side of the block:
How to Use the Gutenberg Editor to add content
- Login to your WordPress Administrator Dashboard.
 Go to Posts or Pages and click on Add New.
  Where it says Add Title, type in a title for your content.
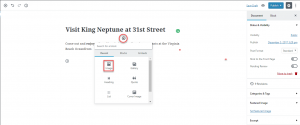
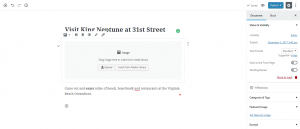
  Select a block for the content. You can find the add option by hovering over the bottom center point of the block. You will see a plus sign in a circle. In this example, we are selecting an image.
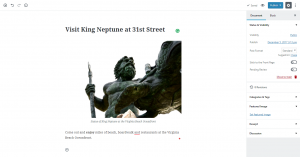
  After selecting the image block you will need to select an image.
  Once the image selection is complete you can continue to add other content until you are finished. When the post/page is complete, click on Update or Publish in the top right corner. Note: Although your content is autosaved, it would still be wise to occasionally save a draft of your work when you are working on lengthy post or page.
SIGNUP FOR
BOLDGRID CENTRAL
200+ Design Templates + 1 Kick-ass SuperTheme
6 WordPress Plugins + 2 Essential Services
Everything you need to build and manage WordPress websites in one Central place.
