ATTENTION: Unfortunately, the BoldGrid Version of Ninja Forms is no longer actively maintained as of January 2019. We recommend you replace it with the current, most stable version of Ninja Forms found on the WordPress repository, or use our recommended WordPress contact form plugin, weForms.
When making forms in BoldGrid you have the ability to create custom Emails & Actions. Examples of these are email notifications, redirects, or success messages. Creating custom form actions applies to the form that you are editing or developing in the Build Your Form tab. We will now show you how to create these 3 types of actions.
Email Action
- Log into BoldGrid.
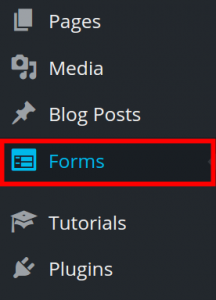
- Click Forms.

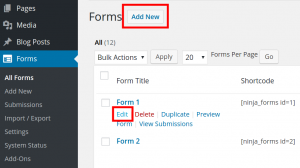
- Edit an existing form, or create a new one.

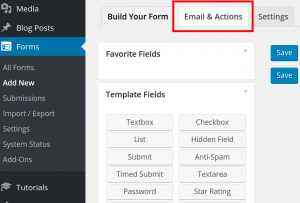
- Click the Email & Actions tab.

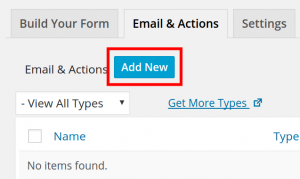
- Click the Add New button.

- Give your action a name.

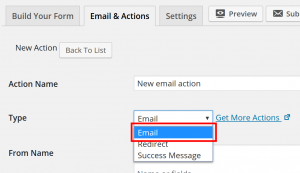
- Choose the Email type from the drop-down menu (if it is not already selected).

- Fill in the fields as needed. Below is a list of the options with the provided description:
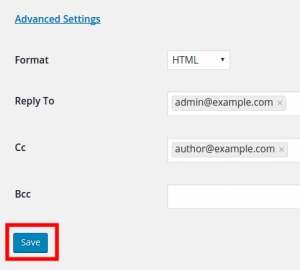
Option Description From Name Email will appear to be from this name. From Address Email will appear to be from this email address. To Who should this email be sent to? Subject This will be the subject of the email. Email Message Put the body of your email message here. - Click the Advanced Settings link to choose your format, or add a reply to, cc, or bcc address.

- Click the Save button.

Redirect
- Log into BoldGrid.
- Click Forms.

- Edit an existing form, or create a new one.

- Click the Email & Actions tab.

- Click the Add New button.

- Give your action a name.

- Select redirect from the drop down menu.

- Enter the URL you want to redirect to, then click the Save button.

Success
- Log into BoldGrid.
- Click Forms.

- Edit an existing form, or create a new one.

- Click the Email & Actions tab.

- Click the Add New button.

- Give your action a name.

- Select Success Message from the Type section.

- Enter the body of the email in the Message section, then click the Save button.

SIGNUP FOR
BOLDGRID CENTRAL
200+ Design Templates + 1 Kick-ass SuperTheme
6 WordPress Plugins + 2 Essential Services
Everything you need to build and manage WordPress websites in one Central place.
