When you load BoldGrid for WordPress, it includes a powerful form plugin called Ninja Forms. This plugin is loaded when your chosen Inspiration is installed. Ninja Forms allows you to create custom forms with template fields, layout elements, and setup actions for the form. There are a wide variety of options that you can create with Ninja Forms, and we will show in this tutorial how to create a new form in BoldGrid.
How to Build a New Form in Ninja Forms
- Login to the BoldGrid Administrator.
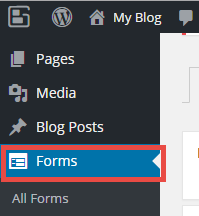
 Click on the menu item labeled Forms.If you don’t see a Forms option, then you may need to load an Inspiration.
  Next, click on Add New.
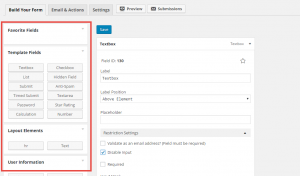
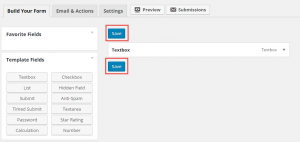
  Choose the elements that make up your form by clicking on them from the menu at left. Each option that you can select is described in the section after these instructions.
  Click on one of the blue Save buttons to save your form.
You can also add or edit actions for the form by clicking on the Email & Actions tab. Note that the actions you add or edit apply to the form that you are currently editing or creating. For information on the Settings tab, please see Ninja Form Settings.
Elements of a Form
When you wish to create a new form in BoldGrid, you will be selecting fields, elements, user information fields, and payment fields to add to the form. Each section is displayed and defined below.
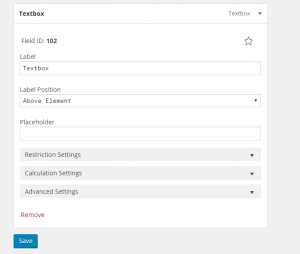
Textbox options
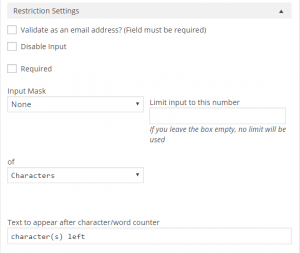
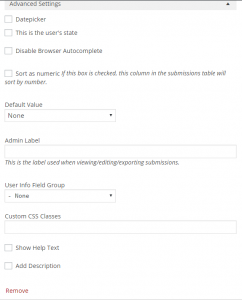
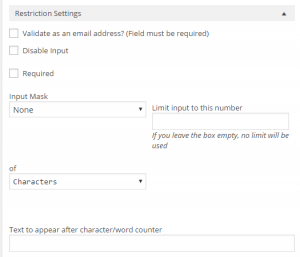
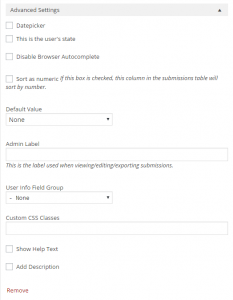
The textbox is used to provide an input field for text. This is generally used for shorter amounts of text. Large amounts of text where paragraphs would be expected are covered by the Text Area field.
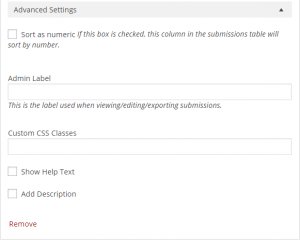
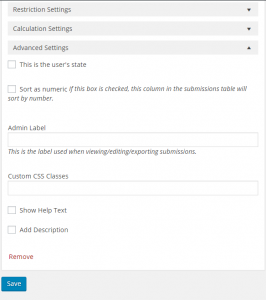
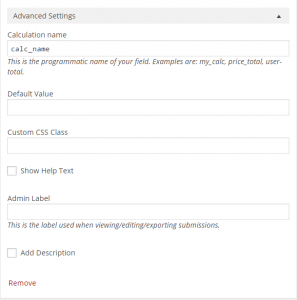
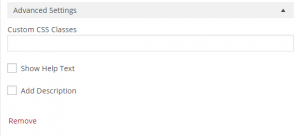
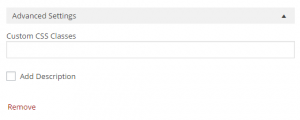
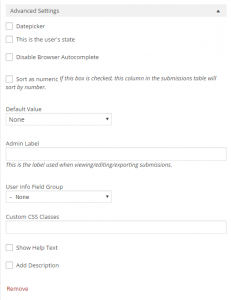
Note: For the Advanced Setting Custom CSS Classes please see Add custom CSS to your Ninja Forms for more information.
List options
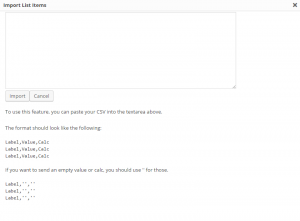
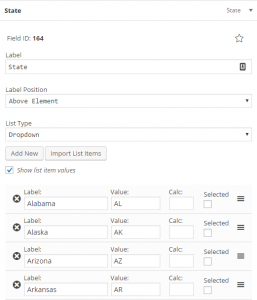
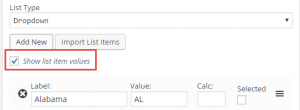
This option lets you configure lists within your form. Note that some of the options will not appear unless you select the checkbox labeled Show option values. List items can be
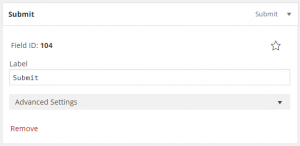
Submit
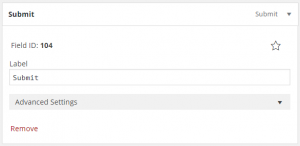
When you save your form a Submit button must be on the form. A warning will appear if you attempt to save the form without the Submit button. It will give you the option to save one in place for you. The options for the Submit button are listed below.
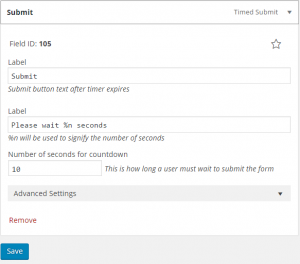
Timed Submit
This option allows you to create a timed delay for the submission of the form.
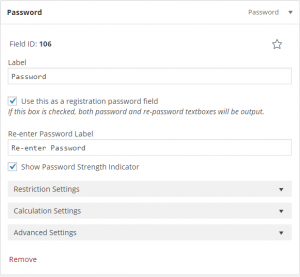
Password
This field can be used to register a user or to allow access for submission with correct password.
Calculation
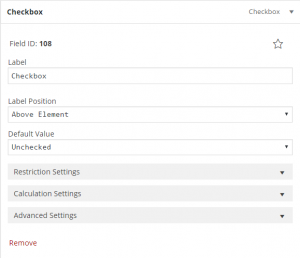
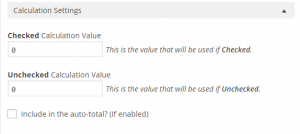
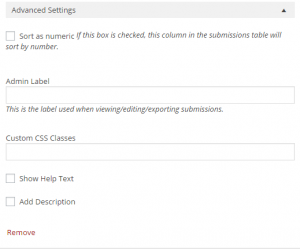
Checkbox
Input field used for selection
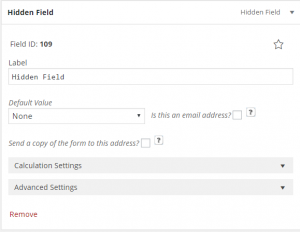
Hidden Field
Adds a hidden field on your form. The field can be used for a variety of purposes such as email or calculation.
Anti-Spam
The anti-spam option prevents bots from hitting your form using question and answer responses. This prevents bots from providing automatic answers with the intention of sending you spam. You will need to add a spam question and spam answer .
Textarea
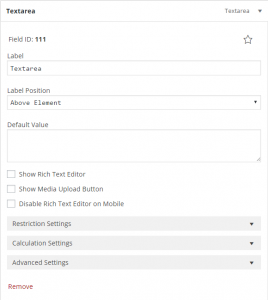
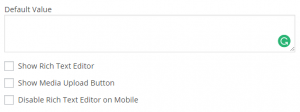
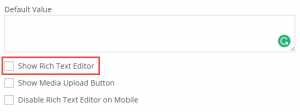
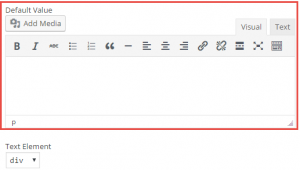
The textarea allows you to add an area where users can input a large block of text and other media to your form. You have the option to use a rich text editor, enable the option to upload media, and change the editor for mobile environments.
Star rating
This field is used to provide a quick, visible rating system on your form.
Number
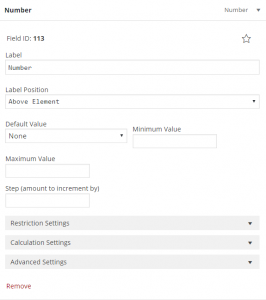
This option provides a way to number your form .
| Label | This allows you to name the field. | |
|---|---|---|
| Label Position | Position of the label in relation to the output displayed. | |
| Default Value | This is the value assigned to the field that can be set to none, user ID, post/page ID and custom. | 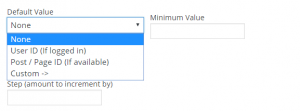 |
| Minimum Value | This sets the minimum value in a range of values for the number field. | 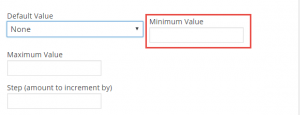 |
| Maximum Value | This sets the maximum value in a range of values for the number field. | 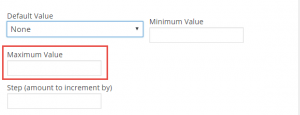 |
| Step | This option provides the amount by which the number value of the field will be incremented. | 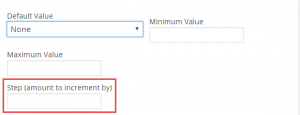 |
| Restrictions | Required – Option makes it so that the Number section must be filled | |
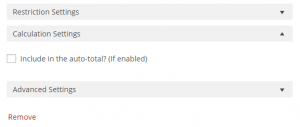
| Calculation Settings | Include in the auto-total?(if enabled) – Allows you to include the calculated value in the automatically generated total value generated in the form. | |
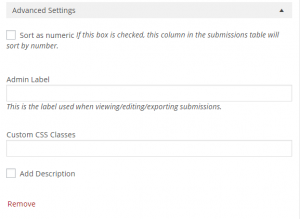
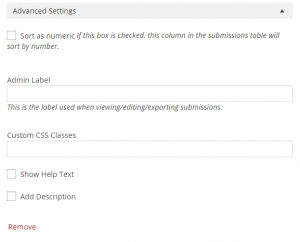
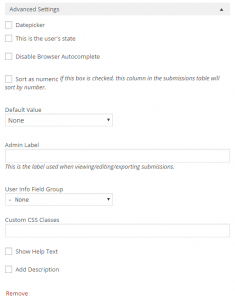
| Advanced Settings |
|  |
Layout Elements
The Layout elements provide a way to create a horizontal row or text that can be part of your form simply for structural purposes. These elements would not be part of the collecting or calculating parts of the form.
HR
“HR” stands for horizontal row. This option lets you create a horizon line on your form.
| Advanced Setting for hr | Custom CSS – You can call custom CSS from this location (see Add custom CSS to your Ninja Forms). | 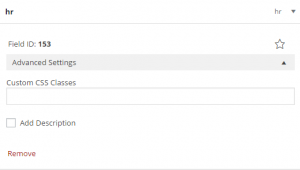 |
|---|
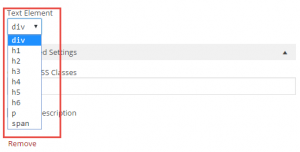
Text
This option allows you to add non-interactive text to your form.
User Information
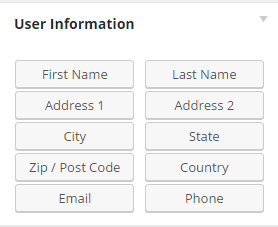
User Information fields allow you request user information such as the first name, last name, address, city, state, country and post code. It also includes options for email and phone fields. These fields are added one at a time have the same options. The summary of all of the User Information fields are listed below:
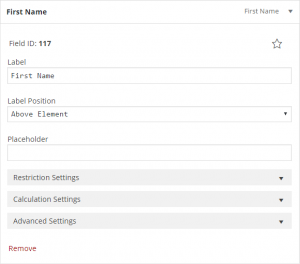
First Name, Last Name, Address 1, Address 2, City and Zip/Post Code
These User Information fields all have the same options when selected. The user information fields provide information about the user including name, location and contact information.
State
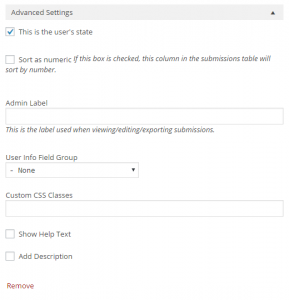
The State field in User Information includes all of the states in the United States and also allows you to add custom states.
Country
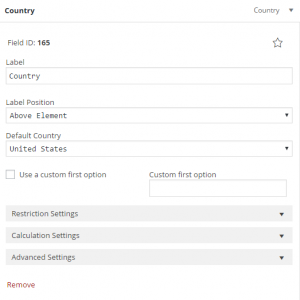
This option allows the selection of a country on the form. The default country is set to the United States, but it can be changed using the drop down menu.
Phone
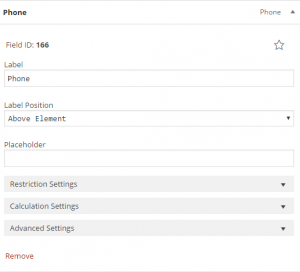
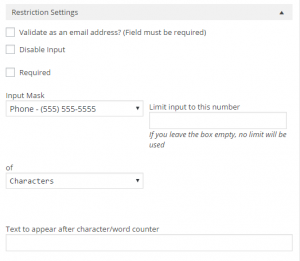
This field allows for the entry of a phone number. By default, the phone number is formatted to the United States format for phone numbers.
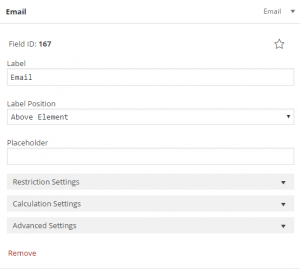
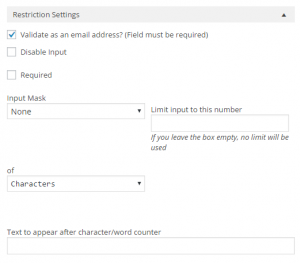
This field allows for the entry of an email address. By default, the email address field is formatted specifically for email addresses.
Payment Fields
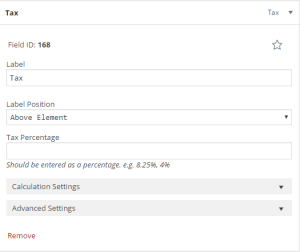
Tax
You can set the tax percentage used for the form in this field.
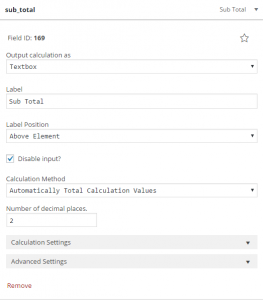
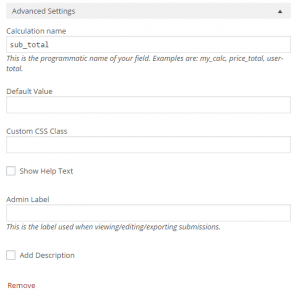
Subtotal and Total
This field calculates the subtotal on your form. The total summarizes the calculations on the form. These options use the same set functions if you choose them for your form.
SIGNUP FOR
BOLDGRID CENTRAL
200+ Design Templates + 1 Kick-ass SuperTheme
6 WordPress Plugins + 2 Essential Services
Everything you need to build and manage WordPress websites in one Central place.




































testmonkey says:
I have a form in Word (.docx) format. Can I import it into BG (Ninja?) forms? What file formats work for Import and what file formats do it export into?
Thanks
JohnPaul says:
Hello testmonkey,
Thank you for contacting us. Unfortunately, Ninja Forms exports/imports in a “.nff” format instead of .docx. Here is a helpful link to the official Ninja Forms Import/Export documentation.
Thank you,
John-Paul